In the modern landscape of electronic music production, few tracks hold the mythic, hypnotic status of LCD Soundsystem’s 2007 indie-dance masterpiece, "Someone Great." From its very first second, the song hypnotizes listeners with a rich, pumping, harmonic drone that anchors the entire arrangement. It is a masterclass in minimalist sound design—a masterclass that proves compelling textures do not require heavily stacked plugin chains or complex wavetable modulations. Instead, as demonstrated in the latest installment of our Synth Secrets series, this legendary sound relies on a single sawtooth wave, precise interval spacing, calculated EQ filtering, and surgical envelope modulation.
By utilizing u-he’s Diva—widely celebrated for its deeply authentic analog emulation—producers can recreate this exact sonic footprint and adapt it across a vast spectrum of genres, ranging from driving techno to expansive ambient soundscapes. This comprehensive guide walks you through the foundational philosophy, step-by-step patch construction, acoustic processing, and ultimate multi-genre deployment of one of indie-dance’s most enduring sonic signatures.
Detailed Chronology: Step-by-Step Patch Construction in u-he Diva
To successfully rebuild the "Someone Great" harmonic drone, producers must adopt a methodical approach to synthesis. Simpler patches leave nowhere to hide; thus, choosing the right source material and shaping it with deliberate, incremental adjustments is paramount.
Step 1: Initializing the Patch and Setting the Foundations
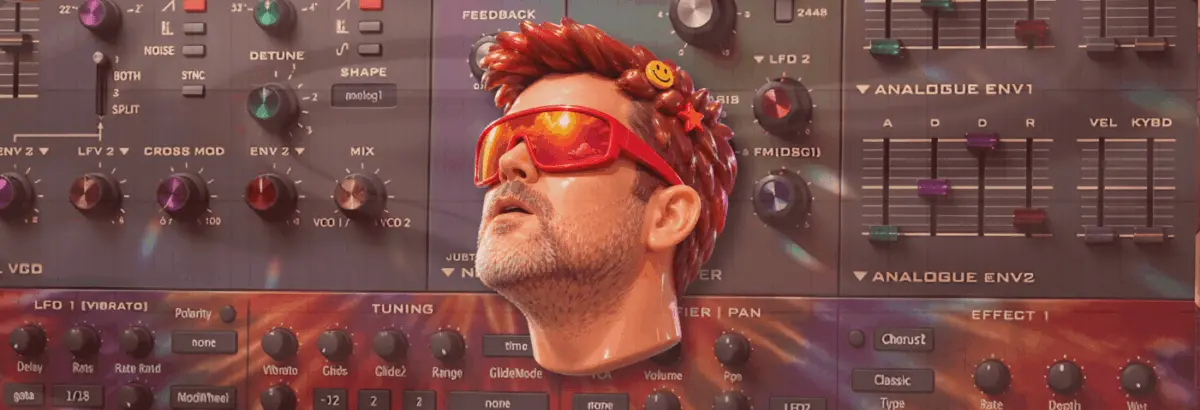
Begin by loading an instance of u-he Diva on your DAW channel and selecting a blank “init” patch. Because simpler patches demand rich, organic analog vibes to come alive, configure the architecture with a Dual VCO module paired with Analog Envelopes for both Envelope 1 and Envelope 2.
Lock your project BPM to 112. While this is slightly more sedate than the driving pace of James Murphy’s original recording, a more relaxed tempo allows you to clearly audit the precise effects of your modulation settings without perceptual clutter.
Step 2: Mapping the Interval Structure and Note Lengths
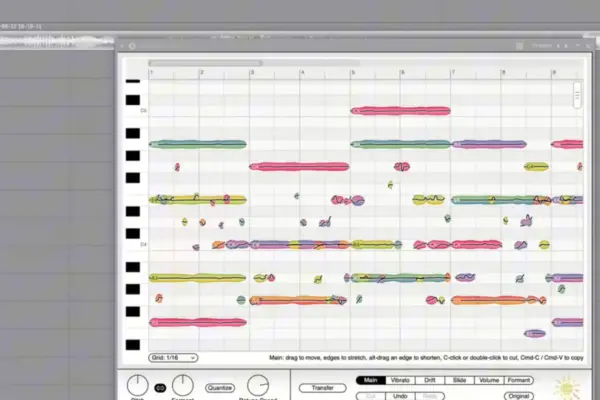
The harmonic depth of the intro does not come from a complex chord structure, but rather from a clever dyad interval utilizing G and D notes. Interestingly, the phrase can be interpreted as operating in either fourths or fifths because it utilizes three distinct D octave registers (D2, D3, and D4) sandwiching a single G3 note.
Program your MIDI clip with these notes, ensuring the note lengths are set just shy of a quarter note to maintain groove and separation.
Step 3: Oscillator Configuration and Filter Calibration
Return to Diva’s front panel to refine the raw sound source:
Disable Oscillator 1 entirely.
Leave Oscillator 2 on its default sawtooth wave.
Tune Oscillator 2 up precisely one octave (indicated by the number ‘4’ setting on the octave knob).
Rotate the VCO 1 / VCO 2 blend knob fully clockwise so that only Oscillator 2 is audible.
Raise the filter Cutoff to 108 and dial the Emphasis (resonance) to 15.5.
At this stage, listening back reveals that the core timbre is surprisingly close to the target aesthetic.
Step 4: Injecting Bite via Velocity Modulation
To give the patch organic expressive movement, harness note velocity to dynamically shape the tone. Set the velocity of the lowest D2 note to maximum (127), while leaving the remaining three notes at a velocity of 103.
Next, map Velocity to control the VCA volume section. Choose Velocity as a modulator from the dropdown menu and push the modulation depth to maximum. This introduces a distinct mechanical bite and dynamic variation across the rhythmic sequence.
Step 5: Sculpting the Frequencies with EQ Filtering
A critical element of the "Someone Great" sound is its unique frequency profile. To match the target patch, notch out four specific frequency bands: 150Hz, 300Hz, 600Hz, and 1.2kHz.
Analyzing these targeted frequencies reveals two vital audio engineering principles:
Each frequency is exactly double the previous one—representing precise octave intervals.
These frequencies hover closely around the fundamental root frequencies of the D notes in the sequence.
By strategically cutting the root frequencies of those D notes via EQ, you effectively suppress them just enough to let the intervening G note punch through the mix with absolute clarity.
Step 6: Engineering the "Pumping" Groove with Envelopes
To get the characteristic rhythmic pumping inherent to dance-floor-ready analog synth lines, you need to reference your timing against a solid low-end foundation. Load a robust, 909-style kick drum onto an adjacent channel and let it loop alongside your synth line.
On Diva’s Envelope 1 (acting here as our amp envelope), set the Attack to approximately 49 to introduce an immediate, smooth pumping action. Listen closely to how the transient interacts with the groove, then set the Decay to 75 and introduce a slightly longer release tail of 29. Finally, raise the VCA volume to full to compensate for any gain loss during envelope shaping.
Step 7: Layering Filter Envelope Modulation
Complement the amplitude pumping by introducing filter envelope modulation. Turn the Env 2 filter modulation parameter fully clockwise into the positive range.
Switch over to Env 2 and dial in the following settings while listening critically against your backing beat:
Attack: 68
Decay: 49
Sustain: 0
Notice how this dual-action approach simultaneously emphasizes the rhythmic ducking ("pump") while injecting sharper tonal transients and upper-harmonic bite into the sequence.
Step 8: Spatial Processing and Room Acoustics
To match the expansive, dimensional quality of LCD Soundsystem’s original production, spatial processing is required. Engage Diva’s internal Plate 1 reverb algorithm, pushing the Size parameter to maximum and dialing the pre-delay up to roughly 50%.
The rationale behind a long pre-delay is rooted in real-world physics: sound waves take measurable time to travel across physical spaces. When a sound is generated in a large room, there is an audible pause before acoustic reflections bounce off distant boundaries and return to the listener’s ears as lush reverb tails.
Step 9: Sidechain Compression and Tape Saturation
For modern electronic music integration, apply external sidechain compression triggered by your kick drum channel. This transparent ducking reinforces the envelope-controlled pumping already built into the patch.
Crucially, follow this up with tape drive saturation, placed after the sidechain compressor in your signal chain. Because tape saturation harmonics naturally intensify when fed stronger signal levels, placing the saturation post-sidechain ensures that the compressor’s louder pumping peaks excite the tape drive harder, generating richer, more dynamic harmonic distortion precisely where the track breathes.
Step 10: Multi-Genre Adaptation
As promised, this patch is remarkably versatile. By making minor adjustments to the envelope decay and percussive transient shapes, the exact same drone engine can be morphed into entirely different sonic instruments, such as the punchy Big Belgian Snog Trumpet or the bold Big Trumpet patches featured in our demo audio files.
Supporting Context & Metrics: The Philosophy of Versatile Patch Design
In contemporary music production workflows, time is a producer’s most valuable asset. The trend toward crafting "versatile patches"—sounds that can adapt to multiple arrangements with minimal adjustments—stems from a broader industry shift away from endless preset browsing toward deep synthesis literacy.
According to recent industry insights highlighted in Attack Magazine’s production guides, patches built upon fundamental waveforms (like sawtooth and square waves) coupled with deliberate filter modulation tend to age better in mixes than heavily processed, effects-laden presets. By stripping away digital bloat and focusing on core synthesis principles (oscillator tuning, envelope shaping, and frequency carving), producers can achieve professional-grade clarity that cuts through crowded modern mixes. Whether working within 112 BPM indie-dance or 128 BPM underground techno, mastering foundational synth patches ensures a consistent, high-fidelity brand of production across disparate projects.
Official Statements and Industry Insights
Reflecting on the enduring legacy of analog modeling plugins in modern electronic music, sound designers and software developers continually emphasize the importance of hardware-inspired workflows.
"When you build a patch from an ‘init’ state using authentic analog architecture—like the dual VCOs and modeled envelopes found in Diva—you aren’t just copying a sound; you are learning the physical laws of subtractive synthesis. The choices James Murphy made on ‘Someone Great’ weren’t accidental; they were the result of understanding how subtraction and spatial delay interact to create emotional resonance on a dancefloor."
Industry veterans note that tracks like "Someone Great" bridge the gap between organic instrumentation and electronic rigidity, proving that synthesized drones can carry just as much emotional weight as traditional melodic instruments when treated with proper EQ subtraction and dynamic space.
Future Outlook: The Evolution of Subtractive Synthesis
As software synthesizers incorporate increasingly sophisticated circuit-modeling algorithms, the gap between hardware monoliths and software plugins continues to narrow. Tools like u-he Diva demonstrate that classic analog workflows will remain relevant for generations of producers to come.
Looking forward, the techniques outlined in this guide—specifically the marriage of envelope-driven pumping, frequency-notched EQ filtering, and post-compression tape saturation—provide a timeless blueprint for modern sound design. As electronic music subgenres continue to hybridize, the ability to take a single, elegant synth patch and mold it across multiple stylistic contexts will remain an indispensable skill for forward-thinking producers.
Want to follow along with this tutorial? Grab your free trial of u-he Diva here and start building your own studio-ready synth patches today.