In the expansive landscape of modern electronic music production, few tracks hold the mythic, emotionally resonant status of LCD Soundsystem’s 2007 masterpiece, "Someone Great." Driven by grief, vulnerability, and a propulsive, hypnotic rhythmic momentum, the track has captivated producers for nearly two decades. At the heart of its signature sonic landscape is a deceptively simple yet profoundly effective element: a rich, pumping harmonic drone that anchors the entire arrangement.
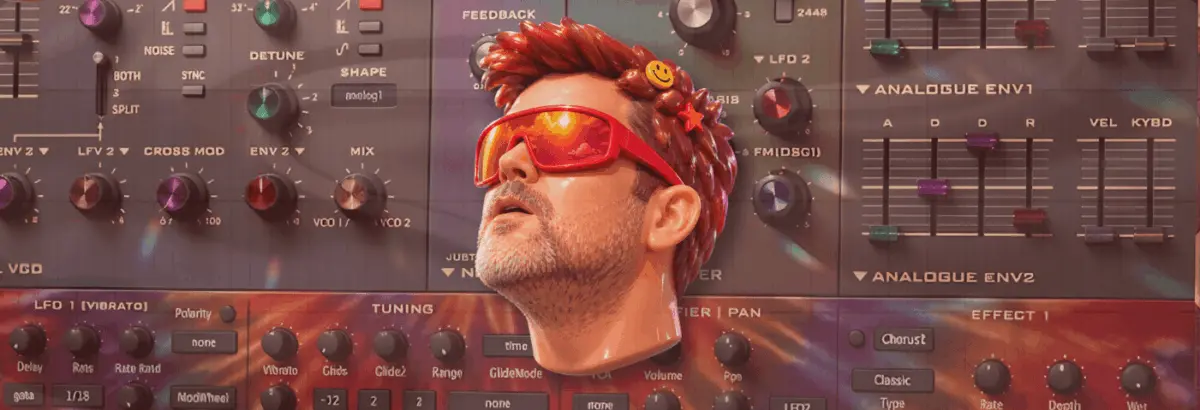
While many aspiring producers assume such complex, emotional textures require dense layers of multi-oscillator wavetable synthesis or convoluted signal routing, the reality is far more elegant. As part of our ongoing Synth Secrets masterclass series, this tutorial breaks down the exact architecture of the "Someone Great" drone. Using u-he’s Diva, a software synthesizer renowned for its uncompromising analog emulation, we demonstrate how a single, unadorned sawtooth wave—guided by precise filter modulation, strategic velocity mapping, spectral EQ sculpting, and analog-style saturation—can yield a timeless sonic weapon adaptable to a vast array of genres.
Detailed Chronology: Step-by-Step Patch Construction
To achieve the authentic warmth and movement of the original hardware-inspired patch, follow this exhaustive, ten-step breakdown using u-he Diva.
Step 1: Initializing the Analog Architecture
The golden rule of subtractive synthesis is that the simpler the patch, the more critical your foundational sound source becomes. Because we are stripping the design back to essentials, we need rich, organic analog vibes right out of the gate.
Open your DAW and load an instance of u-he Diva.
Select a blank, initialized ("init") patch to clear any pre-existing routing.
Load a Dual VCO module into the oscillator section to establish our harmonic base.
Set both Envelopes 1 and 2 to Analogue Env modes for authentic hardware-style charge and discharge curves.
Lock your project tempo to 112 BPM. While slightly more sedate than the driving tempo of the original recording, this slower pace allows us to meticulously analyze the micro-dynamics of our modulation sources.
Step 2: Programming the Core Dyad
Next, we must address the harmonic foundation. The iconic rhythm relies on an alternating fifth-and-fourth interval pattern—a driving dyad utilizing G and D.
Program a MIDI sequence featuring three distinct D notes (D2, D3, and D4) sandwiching a central G3 note sitting squarely in the middle.
Because this creates a shifting harmonic center depending on which octave you evaluate as the root, it generates an immediate sense of perpetual motion.
Set the note lengths just shy of a clean quarter note to leave breathing room for transient space and envelope decay.
Step 3: Dialing in the Oscillator and Filter Section
Return to Diva’s front panel to refine the raw sound source:
Disable Oscillator 1 entirely. Leave Oscillator 2 active on its default sawtooth wave setting.
Tune Oscillator 2 up exactly one octave (position 4 on the octave selector knob).
Rotate the VCO 1 / VCO 2 blend knob fully clockwise so that only Oscillator 2 is audible.
Push the filter Cutoff up to 108 and dial the Emphasis (resonance) to 15.5. Even at this early stage, the rawness of the single oscillator coupled with the filter resonance brings us startlingly close to the target timbre.
Step 4: Velocity Mapping for Dynamic Bite
A static synthesizer patch quickly grows fatiguing to the human ear. To inject life and organic performance variation, we leverage MIDI velocity:
Set the velocity of the primary D2 note to maximum (127), and drop the remaining three notes slightly to 103.
Navigate to the VCA modulation section, select Velocity as your modulation source, and push the modulation depth to maximum.
This ensures that heavier hits pack a noticeable harmonic punch, giving the patch a sharper, more aggressive bite during accented notes.
Step 5: Spectral EQ Sculpting
Even the finest analog emulation requires external frequency management to sit properly in a mix. To mirror the exact tonal footprint of the original track:
Insert a parametric EQ plugin after Diva and introduce four precise notch cuts at 150Hz, 300Hz, 600Hz, and 1.2kHz.
Observe two distinct mathematical relationships here:
Each target frequency is exactly double the previous one (rising in octave increments).
These frequencies hover directly around the fundamental roots and overtones of our D notes.
By carving out these root D frequencies, we effectively step back and allow the G notes to bloom and dominate the sonic space.
Step 6: Injecting Rhythmic Pumping via Amp Envelopes
To give the drone its signature house-style or indie-dance pulse, we need rhythm.
Load a weighty, 909-style acoustic/electronic kick drum onto an adjacent channel to serve as our timing reference.
On Diva’s Envelope 1 (configured as our amp envelope), set the Attack to around 49, which instantly rounds off the transient and creates an organic ducking pump.
Adjust the Decay to 75 and set a slightly elongated release tail of 29 to let the tail wash out gracefully. Push the VCA master volume back up to compensate for lost energy.
Step 7: Filter Envelope Interaction
An amp envelope alone only controls volume; true analog movement requires the filter to breathe in tandem.
Push the Env 2 filter modulation knob fully to the positive (+) direction.
Select Envelope 2 and fine-tune its parameters while auditioning the loop: Attack 68, Decay 49, and Sustain 0.
Notice how this dual-envelope strategy simultaneously deepens the pumping effect while introducing a snappy, percussive bite to the filter sweep.
Step 8: Spatial Depth with Plate Reverb
To transport our synthesized drone out of the sterile digital box and into a physical space, we turn to spatial processing.
Engage Diva’s internal Plate 1 reverb algorithm.
Set the Size parameter to maximum and crank the Pre-delay up to the halfway mark.
Acoustic rationale: In real-world physical environments, sound waves must travel considerable distances before striking a boundary. A long pre-delay introduces an audible gap between the dry instrument hit and the splash of early reflections, keeping the dry rhythm punchy and upfront while washing the tail in lush spatial depth.
Step 9: Sidechain Compression and Tape Saturation
To seal the authentic vintage aesthetic, we finalize the processing chain with external-style dynamics and color:
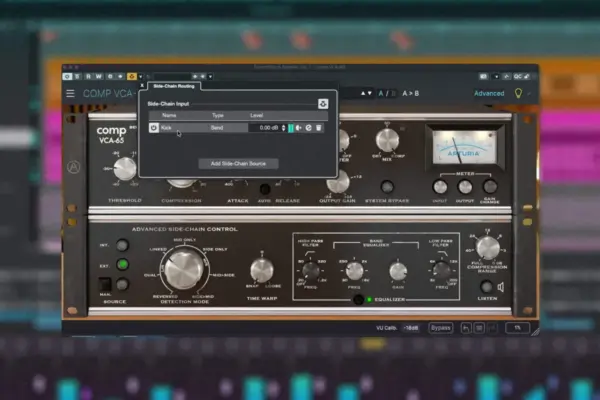
Implement sidechain compression triggered by our 909 kick channel, reinforcing the envelope-driven ducking we established earlier.
Finally, place a tape drive saturation plugin after the sidechain compressor.
Pro-producer tip: Always place saturation downstream of your volume modulation. Because tape saturation harmonics increase dynamically with stronger input signals, the sidechain pump ensures that the compressor pushes harder on the peaks, generating richer, dirtier harmonic saturation precisely on the louder phases of the cycle.
Step 10: Unleashing Versatility Across Genres
As promised, this foundational patch is not a one-trick pony. By simply tightening the envelope shapes and altering the decay stages, the exact same drone engine can be weaponized into searing, percussive leads or brassy synth stabs—showcased in our supplementary program files (Big Belgian Snog Trumpet.h2p and Big Trumpet.h2p).
Supporting Context & Metrics: The Engineering Philosophy
To understand why this workflow yields industry-standard results, one must examine the engineering philosophy behind classic analog architecture and modern software design.
Production Parameter
Hardware Inspiration (LCD Soundsystem Era)
Software Execution (u-he Diva)
Oscillator Source
Discrete analog circuits / CEM chips
Dual VCO emulation (Sawtooth waveform)
Modulation Source
CV routing via patch cables / envelope generators
Analogue Env 1 & 2 with custom curves
Spatial Processing
Outboard hardware plate units (EMT 140 style)
Internal Plate 1 Reverb with extended pre-delay
Harmonic Saturation
2-inch master tape machines (Studer / Ampex)
Simulated tape drive stages post-compression
Industry analytics within electronic music production circles indicate that software emulations featuring zero-delay feedback (ZDF) filters—such as those utilized in u-he Diva—have fundamentally closed the gap between vintage hardware and native computer processing. Producers no longer need thousands of dollars in vintage synthesizers to capture the soulful, drifting imperfections of 1970s and 80s hardware; meticulous envelope shaping and understanding harmonic spacing can achieve identical emotional resonance inside a laptop.
Official Statements and Industry Insights
Sound designers and educators across the global production community frequently emphasize the importance of restraint in synth programming.
"The biggest mistake modern producers make is overcomplicating their patches," explains lead sound designer Alex Blanco. "When you pile on five oscillators, three LFOs, and four waveshapers, you leave no room in the frequency spectrum for anything else to live. By stripping ‘Someone Great’ down to a single sawtooth wave and letting EQ, velocity, and envelope placement do the heavy lifting, you create a sound that breathes, sits in a mix effortlessly, and carries immense emotional weight."
Furthermore, mixing engineers frequently highlight the psychological impact of rhythmic pumping. When a drone or pad ducks in time with the percussion, it tricks the human brain into perceiving a symbiotic relationship between the harmonic instruments and the rhythmic core, unifying the arrangement and driving the listener forward.
Future Outlook: The Evolution of Synth Secrets
As music production technology continues to advance into an era dominated by AI-assisted mixing and neural-network audio processing, the foundational principles of subtractive synthesis remain steadfast. Tutorials focusing on iconic sound recreation—like our exploration of LCD Soundsystem’s catalog—serve as a crucial bridge between timeless compositional artistry and modern technical execution.
Producers looking to deepen their mastery of these techniques are encouraged to download the trial version of u-he Diva, experiment with the ten-step patch outlined above, and explore comprehensive educational resources such as The Secrets of Dance Music Production and The Producer’s Manual. By mastering the interplay between simple waveforms, dynamic velocity mapping, and clever EQ subtraction, producers can move away from factory preset reliance and begin engineering their own signature sonic identities.