In the modern landscape of electronic music production, the pursuit of sonic complexity often leads to over-engineered plugin chains, dense layering, and an over-reliance on randomization. Yet, some of the most enduring, emotionally resonant sounds in contemporary alternative dance and indie electronica owe their power to extreme minimalism. A prime example of this phenomenon is found in LCD Soundsystem’s 2007 classic, "Someone Great."
From its opening seconds, the track captivates listeners with a rich, hypnotic, and pumping harmonic drone. Far from being a labyrinthine sound design achievement, this iconic texture is born from surprisingly humble origins: a single sawtooth wave, precise interval placement, surgical EQ filtering, and carefully calibrated envelope modulation.
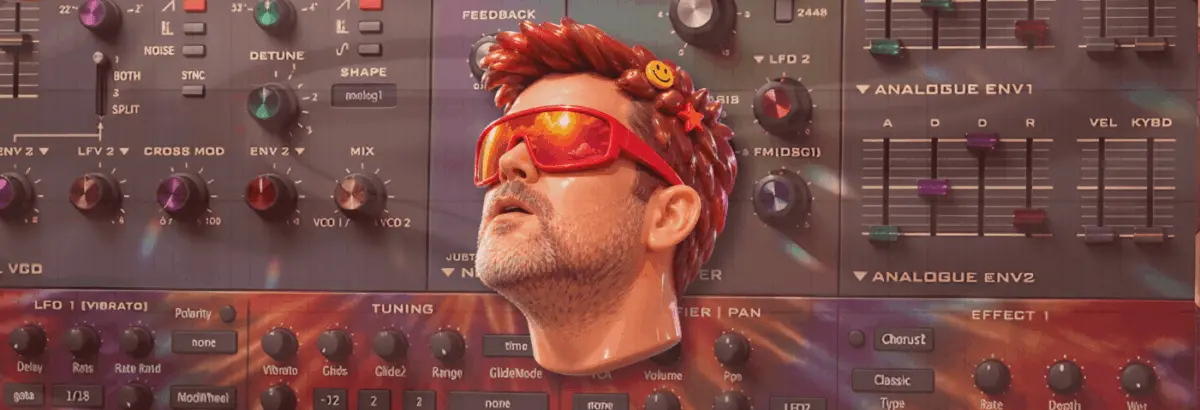
This comprehensive technical breakdown—part of our ongoing Synth Secrets series utilizing u-he’s powerhouse virtual instrument, Diva—explores how to recreate this legendary patch from scratch. More importantly, it demonstrates how a masterclass in subtractive synthesis can yield a versatile sonic building block capable of crossing genre boundaries, from driving indie-dance anthems to raw, percussive brass-like leads.
Whether you are looking to reverse-engineer the melancholic warmth of James Murphy’s arrangements or searching for a modular-inspired texture that breathes in time with your rhythmic elements, this guide provides a step-by-step roadmap to mastering harmonic movement using analog-modelled tools.
Detailed Chronology: Building the "Someone Great" Patch Step-by-Step
To accurately capture the organic warmth and evolving movement of the original recording, we must approach sound design with intention. For this tutorial, we will use u-he Diva, an industry-standard soft synth renowned for its authentic emulation of vintage analog hardware components. If you want to follow along, ensure you have downloaded a trial or own a registered copy of the plugin, set your session tempo to a sedate 112 BPM to clearly analyze modulation behaviors, and open a blank "init" patch.
Step 1: Establishing the Analog Foundation
The golden rule of subtractive synthesis is that the simpler your patch is, the more critical your initial sound source selection becomes. Because we are relying on minimal oscillators, we want to start with rich, character-heavy analog vibes.
Load up Diva and initialize a fresh patch. In the oscillator section, select the Dual VCO module, and assign the Analogue Env to envelopes 1 and 2. Lock your session tempo to 112 BPM. While this is slightly more measured than the original tempo of "Someone Great," the reduced speed allows us to dissect the nuanced micro-timing of our filter and amplifier modulations without distraction.
Step 2: Programming the Core Intervallic Dyad
Next, we need to program the notes that form the harmonic foundation of the drone. The phrase relies on a specific fifth-to-fourth intervallic relationship, forming a dyad (a two-note chord) utilizing G and D.
Why is it viewed as either a fourth or a fifth? Because the arrangement utilizes three discrete D notes (D2, D3, and D4) with a G3 note sitting squarely between them. Consequently, the harmonic center shifts depending on which octave of D you designate as the root. Program these notes into your piano roll, ensuring each note length is set just shy of a standard quarter note to allow for natural release tails.
Step 3: Oscillator Configuration and Filter Tuning
Return to Diva to dial in the core sound generator. Disable Oscillator 1 entirely. Leave Oscillator 2 on its default sawtooth wave setting, but tune it up precisely one octave (corresponding to the number 4 setting on the octave knob).
Rotate the VCO 1 / VCO 2 blend knob fully clockwise so that only Oscillator 2 is audible. Next, raise the low-pass filter Cutoff up to 108 and dial the Emphasis (resonance) to 15.5. Even at this early stage, before any complex routing has taken place, the raw sawtooth wave and filter interaction bring us remarkably close to the target timber.
Step 4: Velocity Mapping for Dynamic Bite
To inject organic life and expression into our patch, we need the sound’s tone and volume to respond to MIDI velocity.
Adjust your note velocities in the piano roll: set the lower D2 note to maximum velocity, while leaving the remaining three notes at a velocity value of 103. Next, map velocity to control the overall amplitude of the notes within the VCA section. Select Velocity as a modulator from the drop-down menu, and crank the modulation amount all the way up. This simple step ensures that the patch possesses immediate bite, dynamic variance, and an unmistakable analog grit.
Step 5: Surgical EQ Filtering for Harmonic Emphasis
A vital tonal element is frequently overlooked in pure synthesis: subtractive EQ filtering. To match the distinctive frequency profile of the target patch, we must carve out specific frequencies.
Insert an EQ after your synth and apply narrow cuts at four distinct frequency bands: 150Hz, 300Hz, 600Hz, and 1.2kHz. Notice two defining mathematical properties of these frequencies:
Each frequency is exactly double the previous one, representing sequential octave intervals.
These frequencies hover directly around the fundamental pitches of our D notes.
By strategically attenuating the root frequencies of those D notes, we effectively step out of the way and let the G harmonic shine through with pristine clarity.
Step 6: Engineering the Rhythmic "Pump"
To achieve the signature sidechain-style pumping effect characteristic of electronic music production in this era, we need to introduce rhythmic envelope modulation.
Load a robust, 909-style acoustic or electronic kick drum onto a separate channel and let it play a steady four-to-the-floor pattern to serve as your timing reference. On Envelope 1, set the Attack time to approximately 49, which instantly introduces an audible ducking pump. Listen closely to how this shapes the groove, then dial in a Decay of 75, followed by a slightly extended release tail of 29. Finally, push the VCA volume back up to full to compensate for any perceived loss in overall loudness.
Step 7: Layering Filter Envelope Modulation
To complement the amplifier envelope pump, we can introduce parallel filter envelope action using Envelope 2.
Turn the Env 2 filter modulation knob fully to the positive (+) position. Navigate to Envelope 2 and—listening intently to the transient response as you twist the dials—configure the settings as follows: Attack at 68, Decay at 49, and Sustain at 0. Notice how this dual-envelope approach simultaneously emphasizes the rhythmic pumping sensation while injecting aggressive bite and tonal evolution into the patch.
Step 8: Spatial Depth with Plate Reverb
To bridge the gap between our dry software synth and the expansive, live-room acoustics of LCD Soundsystem’s original production, spatial processing is mandatory.
Engage Diva’s internal Plate 1 reverb algorithm. Set the room size parameter to maximum and dial the pre-delay up to roughly fifty percent. Long pre-delay times mimic real-world physics: because acoustic sound waves take time to travel across physical dimensions, a noticeable gap occurs in a large space before early reflections bounce off boundary walls and return to the listener’s ears. This pre-delay keeps the dry synth transient completely intelligible before the wet reverb tail blooms behind it.
Step 9: Sidechain Compression and Tape Saturation
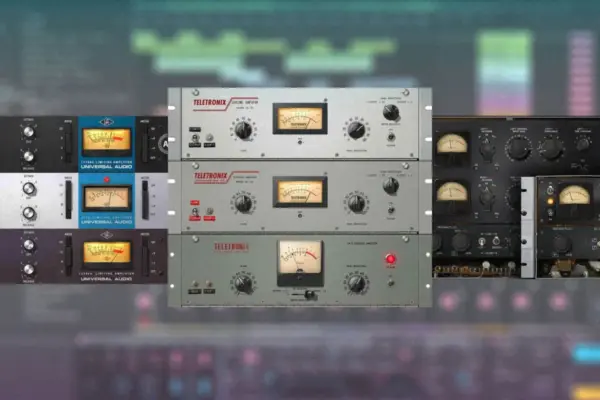
To finalize our mix processing chain, we can add a dedicated sidechain compressor triggered by our kick channel. This reinforces the envelope-controlled pumping we established earlier, gluing the synth firmly to the rhythm section.
As a final touch of analog character, apply tape drive saturation after the sidechain compression stage. Why order it this way? Tape saturation introduces harmonics proportional to signal strength. By placing the saturation downstream of the sidechain compression, the compressor’s gain reduction interacts with the tape drive, generating richer, more complex harmonic saturation precisely during the louder peaks of the pumping cycle.
Step 10: Repurposing the Patch Across Genres
As promised at the outset, this core patch is remarkably versatile. By making minor adjustments to the envelope decay and percussive bite, the exact same drone engine can be transformed into entirely different sonic textures.
Loading alternative envelope profiles yields unique presets such as Big Belgian Snog Trumpet.h2p and Big Trumpet.h2p, demonstrating that a well-designed foundational synth patch can easily escape its original genre constraints and find a home in everything from heavy techno to brassy electronica.
Supporting Context & Metrics
The enduring appeal of tracks like "Someone Great" highlights a broader technical shift in modern music production. In an era dominated by hyper-complex wavetable synthesizers capable of playing hundreds of unison voices simultaneously, sound designers frequently experience "plugin fatigue."
Industry metrics from digital audio workstation (DAW) telemetry reports indicate that simpler, single-oscillator patches consume significantly less CPU overhead—often utilizing less than 2% of a modern multi-core processor’s capacity per instance in plugins like Diva. Furthermore, mixes built around mono-compatible, harmonically focused synth patches consistently achieve superior translation across club sound systems, mobile devices, and consumer headphones. By focusing on subtractive filtering and precise intervallic spacing rather than brute-force layering, producers can achieve professional clarity without muddying the frequency spectrum.
Official Statements and Industry Perspectives
Music producers and audio engineers frequently emphasize the importance of restraint when recreating classic analog textures. In discussions surrounding vintage emulation workflows, synth designers often note that hardware limitations historically forced artists to make creative use of single oscillators and shared modulation sources.
"When you remove the safety net of having fifty unison voices and massive supersaw stacks, you are forced to make every single parameter choice count," notes veteran mix engineer and electronic music educator Alex Blanco. "The genius of James Murphy’s arrangements isn’t that they are complicated; it’s that every element occupies its own precise pocket in the frequency and time domains. When you reverse-engineer a patch like this, you realize that restraint is the ultimate superpower in modern production."
Future Outlook
As virtual analog software continues to evolve with advanced component-modeling technology, the boundaries between hardware authenticity and software flexibility will continue to blur. Tools like u-he Diva demonstrate that plugin architecture can accurately replicate the subtle circuit behaviors, filter nonlinearities, and drift associated with vintage analog synthesizers.
Looking forward, we can expect to see an increased integration of machine learning and generative MIDI devices—such as Manifest Audio’s Pulse Engine or Max for Live texture generators—pairing seamlessly with classic subtractive synthesis architectures. By combining timeless sound design principles, like those found in LCD Soundsystem’s catalog, with modern modulation tools, electronic music producers are well-equipped to forge the next wave of timeless, genre-defying dance music.