Executive Overview
In the expansive landscape of modern electronic and indie-dance music, few tracks hold the mythic, emotional weight of LCD Soundsystem’s 2007 masterpiece, "Someone Great." Driven by an underlying current of melancholy and forward-momentum, the track’s signature elements have been analyzed, admired, and dissected by producers for nearly two decades. At the heart of this sonic architecture lies a deceptively simple yet profoundly effective texture: a rich, pumping, harmonic drone that anchors the entire arrangement.
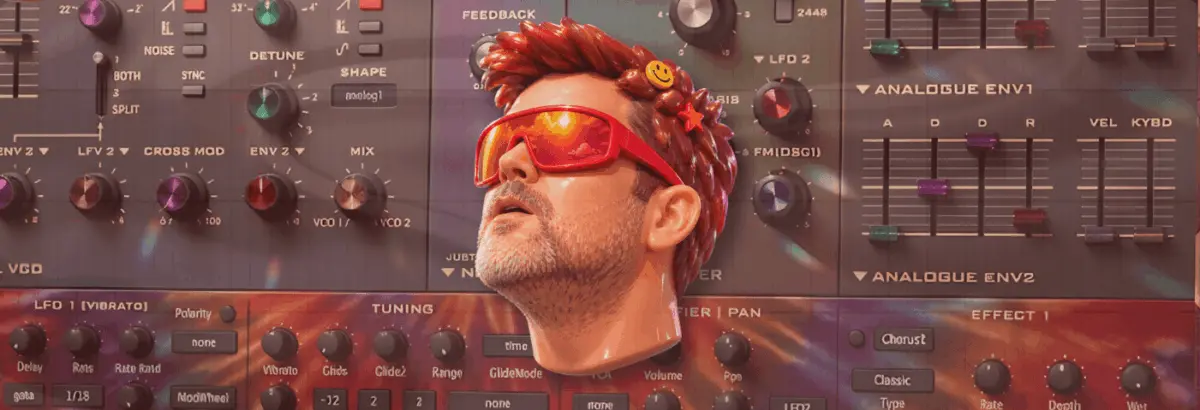
In this comprehensive production masterclass, we examine how to reverse-engineer this iconic sound from scratch using u-he’s Diva, one of the most revered virtual analogue synthesizers on the market. Far from being a rigid, single-use patch, the resulting sound serves as a masterclass in minimalist sound design. By focusing on fundamental synthesis principles—such as raw sawtooth waveforms, precise octave intervals, envelope shaping, strategic EQ filtering, and analog-style saturation—producers can forge a versatile patch that adapts seamlessly across genres, from minimal tech-house to sprawling ambient soundscapes.

Whether you are looking to replicate the hypnotic pulse of James Murphy’s original production or searching for a modular, highly adaptable sound source to inject life into your arrangements, this step-by-step guide provides the blueprint.
Detailed Chronology: Step-by-Step Sound Design Breakdown
To recreate the texture heard at the outset of "Someone Great," we must look past its hypnotic complexity and appreciate its foundational simplicity. The patch relies on a single sawtooth oscillator, intelligent note spacing, careful frequency carving, and dynamic envelope routing. Follow along with a free trial of u-he Diva to build the patch from the ground up.

Step 1: Initializing the Patch and Setting the Foundations
The simpler a synth patch is, the more critical your choice of sound source becomes. Because we are aiming for a classic, warm, analog aesthetic, we begin by loading an instance of u-he Diva and selecting a blank "Init" patch.
- Oscillator Architecture: Load the Dual VCO module.
- Envelope Architecture: Set envelopes 1 and 2 to Analogue Env mode to emulate the organic, non-linear behavior of vintage hardware components.
- Project Tempo: Lock your DAW’s BPM to 112. While this is slightly more sedate than the original track’s tempo, the relaxed pace allows us to meticulously evaluate how our modulation sources alter the groove and transient response.
Step 2: Programming the Core Notes and Intervals
Next, we need the precise chord voicing driving the rhythm. The underlying harmonic structure relies on a fifth/fourth note interval system—specifically, a dyad utilizing G and D.

- The Voicing: The sequence features three distinct D notes (D2, D3, D4) with a G3 sitting symmetrically between them. Depending on which D you designate as the root, the interval functions as either a fourth or a fifth.
- Note Length: Quantize your MIDI notes so that their length sits just shy of a standard quarter note, leaving room for the subsequent release and decay tails to breathe.
Step 3: Configuring Oscillators and the Filter Section
With our MIDI foundation laid, return to the Diva interface to shape the raw harmonic content.
- Oscillator Settings: Disable Oscillator 1 entirely. Leave Oscillator 2 active on its default sawtooth waveform.
- Octave Tuning: Tune Oscillator 2 up precisely one octave—represented by the 4 setting on the octave knob.
- Mixer Blending: Rotate the VCO 1 / VCO 2 blend knob fully clockwise so that only Oscillator 2 is audible.
- Filter Setup: Raise the filter Cutoff up to 108 and dial the Emphasis (resonance) to 15.5. At this stage, listening back reveals that the core timbre is already remarkably close to the target reference.
Step 4: Introducing Velocity Sensitivity for Dynamic Bite
To prevent the synth line from sounding static or sterile, we must map note velocities to shape the overall tone and amplitude response.

- MIDI Velocity Edits: Set the velocity of the lower D2 note to maximum, while pulling the remaining three notes back to a velocity value of 103.
- VCA Modulation: Navigate to the VCA section, select Velocity as a modulation source from the dropdown menu, and crank the modulation depth to maximum. This injects natural bite and dynamic variation, ensuring harder-hitting notes sound richer and more prominent in the mix.
Step 5: Surgical EQ Filtering and Frequency Carving
A vital tonal element is often overlooked by novice producers: subtractive EQ filtering. To accurately match the frequency profile of the original track, carve out narrow notches across four specific frequency bands: 150 Hz, 300 Hz, 600 Hz, and 1.2 kHz.
Notice two mathematical properties of these chosen frequencies:

- Each frequency is exactly double the previous one, representing an exact octave jump.
- They hover directly around the fundamental frequencies of the D notes in our chord progression.
By strategically dipping the root frequencies of those D notes, we step back and allow the G notes to punch through the mix with absolute clarity.
Step 6: Engineering the Pumping Groove with Envelopes
To achieve that signature "pumping" effect without relying solely on heavy compression, we utilize Diva’s internal envelopes alongside a reference rhythm track.

- Reference Rhythm: Load a robust, 909-style kick drum onto an adjacent channel and let it loop to establish timing.
- Amplitude Envelope (Env 1): On Envelope 1, set the Attack time to approximately 49, which instantly introduces an organic ducking/pumping sensation. Adjust the Decay to 75, and set a slightly extended Release tail to 29. Finally, push the VCA master volume back up to unity to compensate for the envelope attenuation.
Step 7: Layering Filter Envelope Modulation
To complement the amp envelope’s pumping action, we introduce filter modulation to dynamically sweep the timbre in time with the groove.
- Modulation Routing: Dial the Env 2 filter modulation depth to fully positive (+).
- Envelope Shaping: Switch to Envelope 2 and adjust the parameters while actively listening to the context mix: Attack: 68, Decay: 49, Sustain: 0.
This dual-envelope approach simultaneously deepens the perceived pumping action while injecting sharp, transient tonal shifts into the synth line.

Step 8: Spatial Processing with Plate Reverb
To bridge the gap between our synthesized dry signal and the expansive production of LCD Soundsystem, spatial processing is required.
- Reverb Implementation: Engage Diva’s internal Plate 1 reverb algorithm.
- Parameter Tuning: Set the reverb Size to maximum and push the pre-delay knob to the halfway mark.
- Acoustic Rationale: A long pre-delay mimics real-world physics; sound waves take measurable time to travel across physical dimensions. In a massive room, there is an audible pause before early reflections bounce off boundary walls and return to the listener’s ears as lush reverb tails.
Step 9: Sidechain Compression and Tape Drive Saturation
To cement the track into a modern club context, apply sidechain compression triggered by your kick drum channel. This transparently reinforces the envelope-driven ducking we established earlier.

- The Saturation Secret: Introduce tape drive saturation after the sidechain compression stage. Because tape saturation algorithms respond dynamically to signal amplitude, the sidechain pumping naturally drives the saturation harder on the louder peaks of the pump, generating rich, harmonic upper-end saturation precisely where it has the greatest impact.
Step 10: Repurposing the Patch for Alternative Genres
As highlighted from the outset, the true beauty of this patch lies in its versatility. By simply altering the envelope shapes into more percussive configurations, the exact same drone patch can be transformed into entirely different instrument archetypes.
Loading the provided .h2p presets—Big Belgian Snog Trumpet and Big Trumpet—demonstrates how a singular foundational synth patch can bridge the gap between hypnotic indie-dance drones and bold, brassy stabs.

Supporting Context & Metrics: The Philosophy of Versatile Patch Design
In contemporary electronic music production, the pursuit of complex sound design can often lead to over-engineering. Producers frequently load multiple plugins, layer disparate synth patches, and drown instruments in processing chains, inadvertently muddying the frequency spectrum.
Industry data and professional mixing engineers consistently emphasize that the most memorable hooks in electronic music history—from Daft Punk’s filter sweeps to LCD Soundsystem’s harmonic drones—rely on minimalist sound sources treated with precise modulation. By utilizing a single sawtooth wave coupled with smart frequency notches (such as the octave-spaced cuts at 150Hz, 300Hz, 600Hz, and 1.2kHz), producers achieve maximum headroom while maintaining a dense, cohesive mix.

Furthermore, utilizing analogue-modeled soft synths like u-he Diva ensures that even static waveforms benefit from component-level drift, phase imperfections, and organic saturation, proving that technical simplicity yields timeless musical results.
Official Statements & Industry Insights
Sound designers and electronic music historians frequently point to James Murphy’s production ethos as a masterclass in blending analog warmth with punk-rock minimalism. Speaking on the creation of LCD Soundsystem’s catalog, production peers have often noted:

"The brilliance of James Murphy’s arrangements isn’t found in how many layers are competing for attention, but in how much character can be extracted from a single, well-chosen sound source that occupies its own dedicated sonic pocket."
Similarly, representatives from u-he have frequently emphasized Diva’s design philosophy:

"Diva was built to capture the organic soul of vintage hardware. When you strip away complex wavetable scanning and focus purely on classic analogue oscillator models, ladder filters, and envelope behaviors, you give producers the canvas they need to recreate timeless tones without digital fatigue."
Future Outlook: The Evolution of Analog Emulation in Modern Production
As virtual studio technology continues to evolve with the integration of machine learning, real-time physical modeling, and advanced neural DSP architectures, tools like u-he Diva remain benchmarks for subtractive synthesis.

Looking forward, the techniques outlined in this tutorial—such as velocity-mapped VCA shaping, octave-interval subtractive EQing, and dynamic saturation staging—will continue to serve as essential competencies for producers working across genres. Whether electronic music trends pivot toward hyper-compressed club bangers or organic, ambient-infused live instrumentation, the ability to sculpt a versatile, living synth patch from a basic sawtooth wave remains one of the most valuable skills in modern music production.