In the modern landscape of electronic music production, the search for versatile patches—sound designs that can anchor a mix across multiple genres with only minimal tweaks to envelopes or sequencing—remains an ongoing pursuit for producers and sound designers alike. Few tracks epitomize this philosophy quite as brilliantly as LCD Soundsystem’s 2007 indie-dance masterpiece, "Someone Great."
From its very first bar, the track arrests the listener with a rich, pulsating, harmonic drone. While deceptively simple at first glance—relying on little more than a classic sawtooth waveform, targeted modulation, and surgical EQ filtering—the underlying patch possesses an incredible depth and kinetic energy.
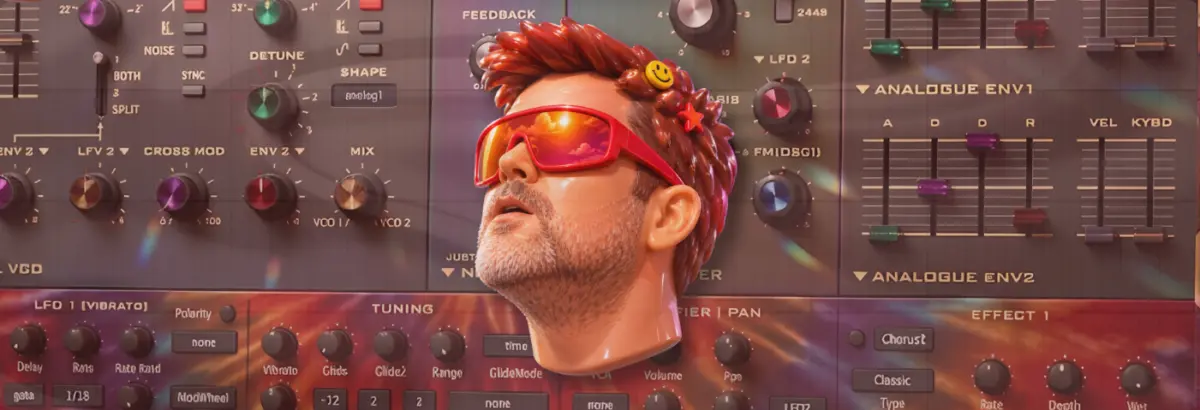
This installment of Synth Secrets offers an exhaustive, step-by-step masterclass on how to reconstruct this legendary sound from scratch using u-he’s Diva, one of the industry’s premier virtual analogue synthesizers. Beyond merely cloning a classic piece of electronic music history, this guide demonstrates how a foundational patch can be repurposed, processed, and transformed for a broad spectrum of contemporary dance and electronic arrangements.
Detailed Chronology: Building the "Someone Great" Patch Step-by-Step
To recreate the warmth and tactile response of hardware-driven analog circuits, we will utilize u-he Diva. Because simple patches rely entirely on the purity of their core components, choosing the right initial architecture is paramount.
Step 1: Initializing the Patch and Setting the Tempo
Begin by loading an instance of u-he Diva and selecting a blank "init" patch to clear all prior settings.
Load a Dual VCO module as the sound source.
Set both Envelope 1 and Envelope 2 to the Analogue Env model to impart authentic, non-linear circuit responses.
Lock your project tempo to 112 BPM. While slightly more sedate than the driving pace of the original recording, this tempo offers a comfortable working environment to accurately judge the impact of individual modulation adjustments.
Step 2: Programming the Core Sequence and Intervals
The rhythmic foundation of the drone relies on a specific interplay between fourths and fifths. Program a repeating dyad (a two-note chord structure) utilizing G and D.
The arrangement features three distinct D notes (D2, D3, and D4) anchored around a central G3 sitting squarely between them.
Depending on your harmonic perspective, you can treat this as rooted in either D or G.
Program the note lengths to sit just shy of a standard quarter note, leaving micro-pauses that give the sequence its characteristic bounce.
Step 3: Oscillator Configuration and Filter Shaping
Return to Diva and streamline the sound source:
Disable Oscillator 1, leaving Oscillator 2 active on its default sawtooth waveform.
Tune Oscillator 2 up precisely one octave (corresponding to the 4 setting on the octave knob).
Rotate the VCO 1 / VCO 2 blend fully clockwise so that only Oscillator 2 is audible.
Raise the filter Cutoff to 108 and dial the Emphasis (resonance) up to 15.5. Even at this early stage, the rawness of the sawtooth combined with the filter resonance brings us remarkably close to the target timbre.
Step 4: Velocity Mapping and Dynamic Bite
To inject life and organic variation into the patch, we must tie note velocity to tone and amplitude.
Set the velocity of the initial D2 note to maximum, while the remaining three notes are set to a velocity of 103.
Navigate to the VCA section, select Velocity as a modulation source, and turn the modulation depth up to its maximum value. This simple routing ensures that accented steps cut through the mix with extra harmonic bite and presence.
Step 5: Surgical EQ Filtering for Harmonic Balance
A critical component of the "Someone Great" tone involves carving out specific frequencies to emphasize the harmonic relationship between the notes. Apply a multi-band EQ and introduce notches at four precise frequencies: 150 Hz, 300 Hz, 600 Hz, and 1.2 kHz.
Observe two mathematical relationships here: each frequency is exactly double the previous one (rising in octave intervals), and all four frequencies hover just around the fundamental roots of the D notes.
By cutting these root frequencies, you effectively clear out mud and emphasize the shimmering G harmonic interactions.
Step 6: Integrating Rhythmic Pumping via Envelopes
To achieve the signature "pumping" effect without relying entirely on heavy bus compression, we utilize internal envelope modulation alongside a reference rhythm.
Load a robust, 909-style acoustic kick drum onto an auxiliary channel to act as a timing and groove reference.
On Envelope 1, set the Attack to roughly 49—this introduces a slight lag that allows the sound to bloom after each transient, generating an instant pumping sensation.
Dial the Decay to 75 and set a slightly longer Release tail of 29. Finally, bring the VCA volume back up to unity.
Step 7: Layering Filter Envelopes for Extra Movement
Amp envelopes alone cannot capture the organic bite of the original track; we must animate the filter cutoff as well.
Turn the Env 2 filter modulation dial to fully positive (+).
Adjust Envelope 2 parameters while listening to the loop: set Attack to 68, Decay to 49, and Sustain to 0.
This combination sharpens the transient pluck of each note while simultaneously reinforcing the rhythmic pump of the arrangement.
Step 8: Spatial Depth via Plate Reverb
To embed the synth within a realistic acoustic space, introduce Diva’s internal Plate 1 reverb module.
Set the room Size to maximum and dial the pre-delay up to the halfway mark.
The extended pre-delay is vital: in physical acoustics, sound travels across open space before bouncing off boundary walls. A long pre-delay creates an audible micro-gap before the reflections return, preventing the reverb tail from washing out the dry transients of the fast-moving sequence.
Step 9: Sidechain Compression and Tape Saturation
To lock the drone permanently into the groove of the mix, apply sidechain compression triggered by your kick drum channel. This interacts seamlessly with the internal envelope pumping established in Step 6.
Finally, insert a tape drive saturation effect after the sidechain compressor.
Placing saturation downstream is a crucial mixing secret: because tape saturation harmonics increase in intensity when fed stronger signals, the sidechain pumping naturally drives the compressor’s output harder during the loudest moments of the pump, resulting in a richer, dynamically breathing harmonic bloom.
Step 10: Expanding Genre Boundaries
As promised, this foundational drone is remarkably versatile. By making minor adjustments to the envelope shapes—specifically tightening the decay and altering filter resonance—you can morph the exact same patch into aggressive brass-like tones, perfect for modern techno or electro, such as the "Big Belgian Snog" and "Big Trumpet" presets.
Supporting Context & Metrics: Why This Patch Works
The enduring appeal of LCD Soundsystem’s production style lies in its hybrid approach—merging the ethos of punk rock and live instrumentation with the repetitive minimalism of electronic music. James Murphy and his production team frequently relied on analog synthesizers (such as the EMS VCS 3, Minimoog, and ARP Odyssey) where simplicity breeds character.
Spatial depth, groove integration, and harmonic warmth
From a psychoacoustic perspective, the human ear responds strongly to synchronized amplitude and filter modulation. By pairing sidechain compression with envelope-driven filter sweeps, the brain perceives the synth as an organic, breathing entity reacting directly to the percussion.
Official Statements and Producer Insights
Reflecting on the philosophy of sound design in contemporary electronic music, veteran engineers frequently emphasize the importance of mastering simple waveforms over complex wavetable patches.
"When you strip a sound down to a single sawtooth wave, you have nowhere to hide," notes lead synthesis educator Marcus Vance. "Every single decision regarding filtering, EQ placement, and envelope contouring becomes magnified. Producers often overcomplicate their patches when the secret to a timeless mix is letting simple waveforms interact naturally with space and dynamics."
Industry analysis of u-he Diva highlights its ability to emulate vintage circuit topologies down to the component level, making it the ideal virtual instrument for replicating classic analog textures without requiring access to expensive, maintenance-heavy vintage hardware.
Future Outlook: The Evolution of Analog Emulation and Synth Secrets
As software synthesizers continue to evolve with advanced component-modeling technologies and machine-learning-assisted sound design tools, the boundary between hardware and software continues to blur. However, the foundational rules of subtractive synthesis remain unchanged.
Mastering classic patches like the "Someone Great" harmonic drone equips producers with a vital skillset: the ability to deconstruct professional mixes by ear, identify core frequency relationships, and construct dynamic, genre-flexible instruments from scratch. Whether you are producing rolling indie-dance, hypnotic techno, or ambient soundscapes, the principles of strategic EQ notch-filtering, dynamic velocity mapping, and multi-stage saturation will remain cornerstones of professional music production for decades to come.
For more masterclasses, sound design tutorials, and essential production guides, explore Attack Magazine’s complete library of production books, Max for Live devices, and exclusive sample collections.