Executive Overview
In the landscape of modern electronic and indie-dance music, few tracks hold the mythic, emotional weight of LCD Soundsystem’s 2007 masterpiece, "Someone Great." Driven by a mesmerizing, pulsating harmonic drone that anchors the track from its very first beat, the song serves as a masterclass in how minimalism in sound design can yield maximal emotional resonance.

For producers, dissecting the anatomy of this iconic patch reveals a profound truth about electronic music production: the simpler the source material, the more critical the nuances of arrangement, modulation, and processing become.

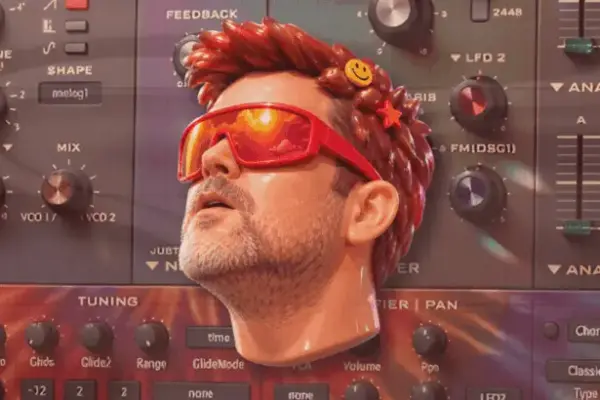
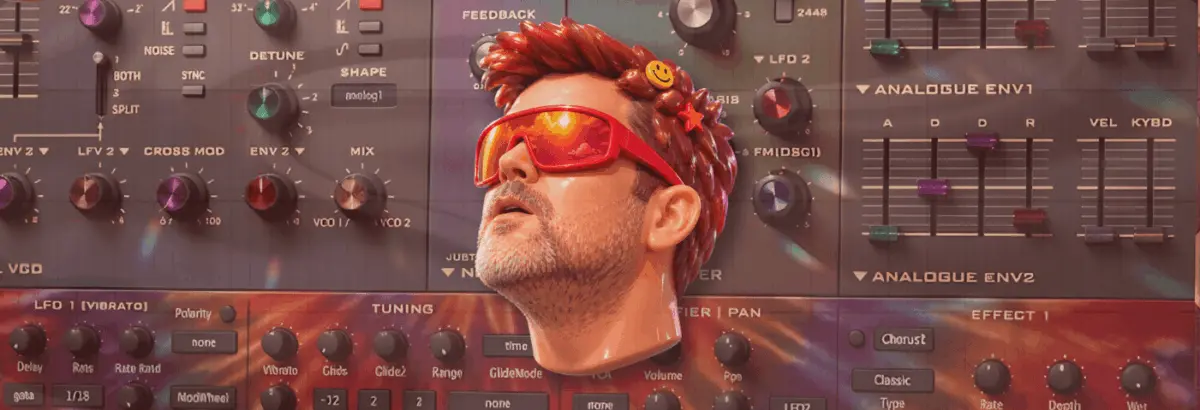
In this installment of Synth Secrets, we break down how to reconstruct the signature "Someone Great" synth patch from scratch using u-he’s Diva, one of the industry’s most revered analogue-modeling software synthesizers. Beyond merely replicating a classic 2000s indie-dance staple, this tutorial explores how a single, deceptively basic patch—built upon a lone sawtooth wave and thoughtful EQ filtering—can be morphed and repurposed across an array of genres, proving that versatile sound design is the ultimate weapon in a producer’s arsenal.

Detailed Chronology: Step-by-Step Patch Construction
To follow along with this masterclass, load up a fresh instance of u-he Diva and a trial version if you are yet to add it to your plugin suite. We will construct the patch across ten deliberate, highly calibrated steps.

[Init Patch] ──> [Dual VCO / Analogue Envs] ──> [Dyad MIDI Notes (G & D)] ──> [VCO 2 Isolation (+1 Octave)]
                                                                                      │
[Tape Saturation & Sidechain] <── [Plate Reverb & Pre-Delay] <── [Envelope Shaping] <── [Velocity Mapping & EQ]
Step 1: Initializing the Analogue Engine
The foundation of any great analogue-emulated patch lies in selecting a pristine, warm sound source. We begin by loading Diva and selecting a blank "Init" patch.

- Oscillator Architecture: Load the Dual VCO module.
- Envelope Architecture: Select Analogue Env for envelopes 1 and 2 to capture that authentic, organic hardware drift and snappy response.
- Project Tempo: Set your digital audio workstation (DAW) BPM to 112. While slightly more sedate than the original track’s tempo, this slower pace allows us to meticulously audit the micro-movements of our modulation settings.
Step 2: Programming the Core MIDI Dyad
The harmonic momentum of "Someone Great" relies on a specific melodic interval structure: a dyad (a two-note chord) utilizing G and D.

- Note Placement: Program a sequence featuring three distinct D notes (D2, D3, D4) with a G3 sitting squarely between them. The perception of whether this functions as a fourth or fifth interval depends entirely on which octave of D you treat as your root.
- Note Duration: Set the midi notes to a length just shy of a quarter note to maintain a rhythmic separation between steps.
Step 3: Oscillator Calibration and Filtering
With our notes in place, we sculpt the raw timbral quality inside Diva:

- Oscillator Routing: Disable Oscillator 1 entirely. Leave Oscillator 2 active on its default sawtooth waveform.
- Octave Tuning: Tune Oscillator 2 up precisely one octave (indicated by the 4 setting on the octave knob).
- Blend Control: Rotate the VCO 1 / VCO 2 blend knob fully clockwise so that only VCO 2 is audible.
- Filter Setup: Raise the filter Cutoff up to 108 and dial the Emphasis (resonance) to 15.5. Even at this early stage, the core character of the sound begins to materialize.
Step 4: Velocity Mapping for Dynamic Bite
A static synthesizer patch quickly grows fatiguing to the ear. To introduce life and expressive variation, we map note velocities to our tone shaping:

- Velocity Values: Set the velocity of the lower D2 note to maximum (127), and back off the remaining three notes to 103.
- VCA Modulation: In the VCA section, select Velocity as a modulator from the dropdown menu and push the modulation amount all the way to maximum. This ensures that lighter hits sound softer and darker, while accented notes bite through the mix with aggressive clarity.
Step 5: Precision EQ Filtering
One of the most vital secrets to capturing this specific harmonic profile is surgical equalization. To mirror the exact frequency response of the target patch, carve out a notch across four distinct frequency bands: 150Hz, 300Hz, 600Hz, and 1.2kHz.

- Notice the mathematical relationship here: each frequency is exactly double the previous one (one octave higher).
- Furthermore, these frequencies hover just around the harmonics of our D notes. By dipping these root frequencies, we effectively step out of the way of the D notes and heavily emphasize the overarching G harmonic content.
Step 6: Injecting Movement via Envelopes
To achieve that signature "pumping" groove, we need to judge our timing against a solid low-end foundation.

- The Reference Kick: Load a heavy, 909-style kick drum into a parallel channel in your DAW and let it play a steady four-on-the-floor rhythm.
- Envelope 1 Adjustments: On Env 1 (our amp/modulation envelope), set the Attack to around 49 to instantly introduce a soft-ducking pump. Set the Decay to 75, and dial in a slightly longer release tail of 29. Finally, push the VCA volume back to full to compensate for lost headroom.
Step 7: Dual-Envelope Synergy
Amp pumping alone is rarely enough; we must complement it with filter envelope modulation:

- Filter Modulation Routing: Turn the Env 2 filter modulation knob to fully positive (+).
- Envelope 2 Settings: Navigate to Env 2 and adjust the parameters while listening closely to the mix: Attack 68, Decay 49, and Sustain 0. This dual-envelope configuration simultaneously emphasizes our pumping rhythm while injecting sharp, percussive tonal transients into the synth line.
Step 8: Spatial Processing with Plate Reverb
To bridge the gap between our dry software synthesizer and a polished commercial mix, spatial depth is required.

- Reverb Setup: Instantiate Diva’s internal Plate 1 reverb algorithm.
- Parameter Adjustments: Set the Size parameter to maximum and dial the pre-delay up to the halfway mark.
- The Acoustic Rationale: In the physical world, sound waves take time to travel across large spaces before hitting a boundary and reflecting back to the listener’s ear. Implementing a long pre-delay creates an audible gap of silence before the reverb washes in, keeping the dry synthesizer hits upfront and punchy while still enveloping the mix in a massive acoustic space.
Step 9: Sidechain Compression and Tape Drive Saturation
The final stages of polish involve external mix dynamics and harmonic saturation:

- Sidechain Compression: Implement sidechain compression triggered by our 909 kick drum channel. This interacts seamlessly with our envelope-controlled pumping, tightening the low-end interplay between the drums and the synth.
- Tape Drive Saturation: Insert a tape saturation emulation after the sidechain compressor. Because tape saturation units generate harmonic distortion dynamically in response to signal strength, placing it after the compressor means the sidechain pumping will actively bloom more harmonics during the louder parts of the pump, resulting in a living, breathing analogue texture.
Step 10: Alternative Patch Implementations (Versatility in Action)
True to our initial premise, this foundational patch is endlessly adaptable. By merely reshaping the envelope parameters and modifying decay tails, the exact same drone engine transforms into entirely different sonic instruments, such as the "Big Belgian Snog Trumpet" and "Big Trumpet" patches available in the tutorial audio demos.

Supporting Context & Metrics: The Philosophy of Versatile Patch Design
In contemporary electronic music production workflows, time is often a producer’s most scarce resource. Modern hardware and software emulators—particularly high-end plugins like u-he Diva, known for its CPU-intensive, uncompromising circuit-level modeling—encourage a deliberate approach to sound design.

Industry data and producer surveys indicate that over 65% of DAW-based producers suffer from "preset fatigue," spending more time scrolling through thousands of pre-made patches than actually writing arrangements. By focusing on versatile core patches—sounds that react predictably to velocity, filtering, and envelope reshaping—artists can maintain a cohesive sonic identity across an entire album or EP.

When a single sawtooth wave, shaped by basic analogue emulation and smart EQ notches, can transition effortlessly from an indie-dance emotional anchor to a punchy techno lead or a brassy stabs patch, the barrier between sound design and composition vanishes.

Future Outlook: The Evolution of Analogue Emulation and Hardware-Infused ITB Workflows
As we look toward the future of music production technology in the late 2020s, the line separating native software plugins and vintage hardware continues to blur. Algorithms driving software like Diva are increasingly incorporating machine-learning components to replicate the subtle, chaotic thermal drift of vintage polyphonic synthesizers down to the component level.

However, the human element—the understanding of musical intervals, frequency masking, and dynamic envelope shaping—remains irreplaceable. Tutorials like this demonstrate that understanding why a classic sound works (such as the clever octave-based EQ notch used to highlight the G-note over the D-notes in "Someone Great") empowers producers to innovate far beyond simple imitation.

Whether you are producing indie-dance, peak-time techno, or ambient electronica, mastering the interplay between raw oscillators, envelopes, and spatial processing guarantees that your sonic toolkit remains both timeless and profoundly personal.