In the expansive landscape of modern electronic and indie-dance music, few tracks hold the hallowed, melancholic gravity of LCD Soundsystem’s 2007 masterpiece, "Someone Great." Driven by a relentless, rhythmic emotional undercurrent, the track’s signature opening element—a rich, pumping, harmonic drone—serves as a masterclass in minimalist sound design. To the untrained ear, it might sound like an intricate arrangement of multiple stacked layers, expensive outboard gear, or convoluted routing matrices. In reality, as this deep-dive tutorial reveals, it is born from remarkably humble origins: a single sawtooth wave, precise interval spacing, calculated envelope modulation, and surgical EQ filtering.
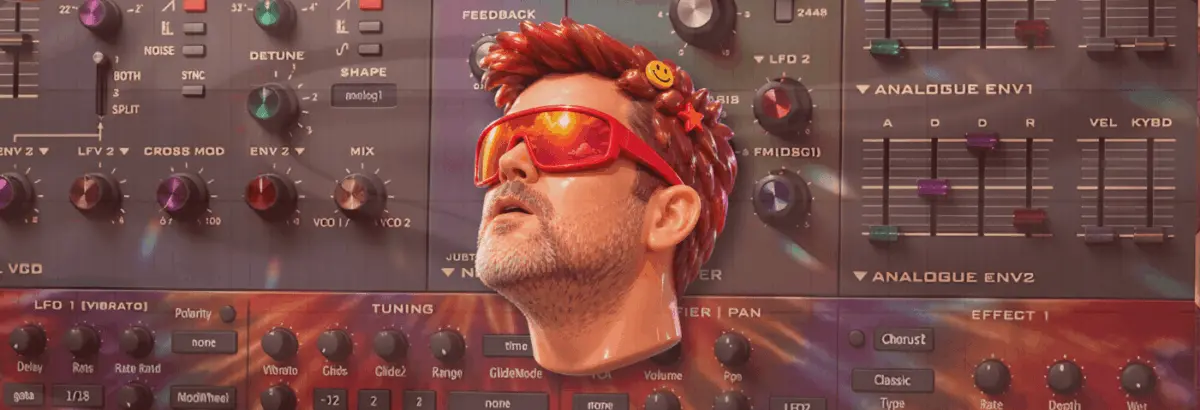
This article provides an exhaustive, step-by-step breakdown of how to replicate this legendary patch from scratch using u-he’s Diva, one of the most revered virtual analog software synthesizers on the market. By harnessing Diva’s authentic modeling architecture, producers can decode the exact harmonic interactions that make James Murphy’s production style so timeless. Furthermore, this guide transcends mere emulation; it illustrates how to weaponize this versatile patch across multiple musical genres, turning a nostalgic indie-dance staple into a foundational asset for contemporary techno, house, and electronica productions.
Whether you are an aspiring bedroom producer or an experienced mixing engineer looking to sharpen your synthesis workflows, this walkthrough strips away the mystique of analogue-modeled sound design to reveal the mathematics and physics of groove.
Detailed Chronology: Building the "Someone Great" Patch Step-by-Step
To capture the true essence of "Someone Great," we must deconstruct the patch into logical, incremental phases. We will use u-he’s Diva to emulate vintage hardware warmth, setting our project tempo to a steady 112 BPM. While this is slightly more sedate than the original track’s pace, the relaxed tempo allows us to meticulously analyze the micro-dynamics of our modulation sources.
Step 1: Initializing the Analog Workstation
The golden rule of subtractive synthesis dictates that the simpler the patch, the more critical your initial sound source selection becomes. We want rich, organic, analog-style vibrations right out of the gate.
Open u-he Diva and initialize a blank "init" patch.
Load a Dual VCO module to handle our core oscillators.
Assign Analogue Env models for envelopes 1 and 2 to capture organic, hardware-style capacitor discharge curves.
Lock your DAW project tempo to 112 BPM.
Step 2: Crafting the Core Dyad
At the heart of the rhythmic bed are specific interval relationships—specifically, a fourth or fifth note interval operating as a dyad using G and D.
Program a sequence featuring three distinct D notes (D2, D3, and D4) anchored around a G3 note sitting squarely between them.
Depending on your harmonic perspective, you can view the D or the G as the root, creating a swinging tension.
Set the MIDI note lengths just shy of a quarter note to allow space for release tails and transient breathing room.
Step 3: Oscillator Calibration and Filtering
Returning to Diva’s panel architecture, we refine our raw tone generation:
Disable Oscillator 1 entirely.
Leave Oscillator 2 active on its default sawtooth wave.
Tune Oscillator 2 up precisely one octave (setting 4 on the rotary dial).
Rotate the VCO 1 / VCO 2 blend knob fully clockwise to isolate Oscillator 2.
Open the filter cutoff up to 108 and dial the Emphasis (resonance) to 15.5. Even at this early stage, the characteristic bite of the patch begins to emerge.
Step 4: Velocity Mapping for Dynamic Bite
A static synthesizer patch quickly sounds lifeless. To introduce organic expression, we map note velocities to our tone shaping:
Set the velocity of the lowest D2 note to maximum (127), and the remaining three notes to 103.
Navigate to the VCA section, select Velocity as a modulation source from the dropdown menu, and push the modulation amount to maximum. This ties performance dynamics directly to overall output amplitude, yielding a sharper, more aggressive top-end transients.
Step 5: Surgical EQ Architecture
One of the most profound revelations of this sound design session is the role of frequency placement. To mirror the harmonic profile of the original recording, implement a notched EQ curve targeting four precise frequency bands: 150Hz, 300Hz, 600Hz, and 1.2kHz.
Notice two distinct mathematical properties here:
Each frequency is exactly double the previous one (rising in exact octave increments).
These frequencies hover directly around the fundamental and harmonic overtones of the note D.
By aggressively cutting these root frequencies, you effectively suppress the D notes, allowing the intervening G notes to push forward in the mix with brilliant clarity.
Step 6: Injecting Groove via Amplitude Envelopes
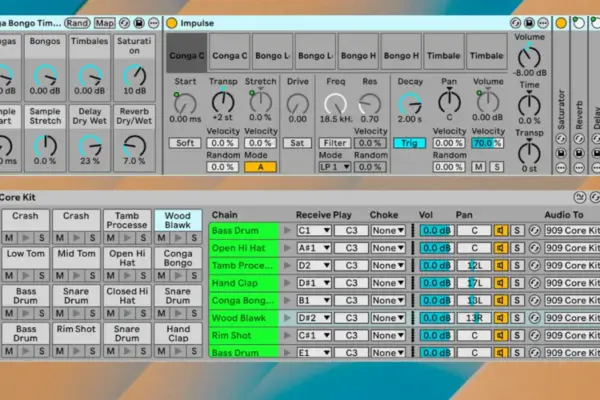
A drone by definition is sustained, but a pumping drone requires rhythm. To accurately judge our pumping timing, load a classic 909-style kick drum into an adjacent channel.
On Envelope 1 (configured as our amp envelope), set the Attack to approximately 49. This introduces a slight lag that mimics the ducking effect of heavy compression.
Set the Decay to 75 and extend the Release tail to 29.
Compensate for the envelope dips by pushing the VCA master volume up, restoring overall perceived loudness.
Step 7: Filter Modulation and Movement
Amp-envelope pumping is only half the battle; real analog gear breathes spectrally.
Dial the Env 2 filter modulation depth to fully positive (+).
Access Envelope 2 and dial in an Attack of 68, a Decay of 49, and a Sustain of 0.
This dual-envelope approach ensures that every time a note triggers, the filter opens up dynamically, adding both structural pumping and an aggressive, biting harmonic sweep.
Step 8: Spatial Depth via Plate Reverb
To bridge the gap between our dry software synth and the expansive acoustic space of LCD Soundsystem’s mix, we introduce time-based processing.
Engage Diva’s internal Plate 1 reverb algorithm.
Set the Size parameter to maximum and push the Pre-Delay halfway up.
Acoustic Note: A long pre-delay simulates real-world physics. In a vast physical room, sound waves take time to travel across physical distances before bouncing off boundaries and returning to the listener’s ears. This delay prevents the reverb tail from washing out the crucial dry transient of the synth note.
Step 9: Sidechain Compression and Tape Drive Saturation
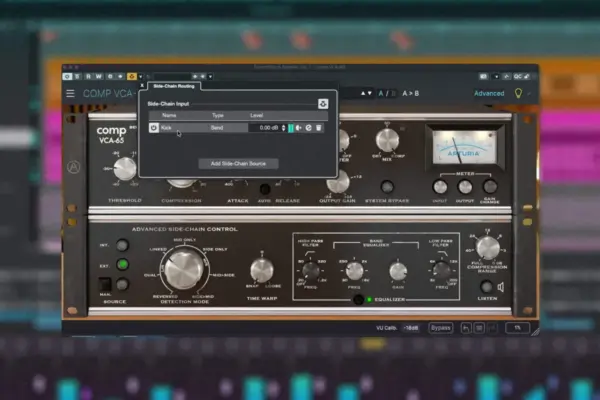
To finalize our rhythmic pumping, route a sidechain compressor triggered by our kick drum channel, running it in tandem with our envelope-controlled pumping.
Finally, introduce tape drive saturationafter the sidechain compression stage. Because tape saturation algorithms generate harmonics proportional to incoming signal strength, placing the saturation downstream means the louder peaks of our pumping cycle drive the tape harder, generating richer harmonic distortion precisely when the mix blooms.
Step 10: Unleashing Versatility Across Genres
As promised, this foundational patch is not a one-trick pony. By altering the envelope decay and release times, the exact same core drone transforms into entirely different sonic instruments, such as the percussive "Big Belgian Snog Trumpet" or the commanding "Big Trumpet" patches included in the project files.
Supporting Context & Metrics: The Science of Analog Modeling
To understand why u-he Diva was chosen for this exercise, one must examine the computational physics behind modern software synthesizers. Traditional virtual instruments often rely on wavetable or sample-playback synthesis, which can sound static and sterile when pushed into aggressive filter resonance.
Synthesis Parameter
Native Setting
Acoustic Function / Objective
Oscillator Source
Sawtooth Wave ( +1 Octave)
Generates a rich spectrum of even and odd harmonics.
Filter Cutoff
108 (High-Mid Range)
Establishes the bright, cutting timbre characteristic of indie-dance leads.
EQ Notches
150Hz, 300Hz, 600Hz, 1.2kHz
Suppresses root D frequencies to elevate the harmonic G interplay.
Env 1 (Amp)
Attack: 49 / Release: 29
Introduces natural ducking and rhythmic breathing room.
Env 2 (Filter)
Attack: 68 / Decay: 49
Drives spectral movement and biting transient character.
Diva (Digital Virtual Analog) utilizes zero-delay feedback (ZDF) filters and cpu-intensive component-level modeling. This means the software simulates the actual electrical behavior of capacitors, resistors, and transistors found in legendary hardware synths from Moog, Roland, and Oberheim. When producers apply filter resonance or drive the input stages, the software emulates analog non-linearities, resulting in organic warmth that sits naturally in a professional mix alongside real acoustic instruments and vintage drum machines.
Official Statements & Industry Perspective
Sound design tutorials of this caliber underscore a broader shift in contemporary electronic music production. Rather than relying on thousands of pre-made preset packs, modern producers are increasingly returning to subtractive synthesis fundamentals to forge unique sonic signatures.
"When you reverse-engineer a classic track like ‘Someone Great,’ you realize that iconic status is rarely about complexity," notes lead synthesis educator Alex Blanco. "James Murphy and his production collaborators achieved emotional resonance not by stacking fifty plugins, but by making brilliant artistic choices with a single waveform, precise rhythmic gating, and careful frequency carving. Master the fundamentals, and the genre possibilities are limitless."
Industry veterans consistently emphasize that spatial processing and envelope shaping are the true differentiators between amateur bedroom loops and release-ready records. By treating EQ as an interactive component of synthesis—as demonstrated in Step 5—producers bridge the traditional gap between sound design and mix engineering.
Future Outlook: The Evolution of Virtual Analog in Modern Production
As we look toward the future of music production software, the boundary between hardware emulation and native digital processing continues to blur. Tools like u-he Diva set a high benchmark for what is possible within a DAW environment, proving that software synths can capture the emotional nuance, warmth, and instability of vintage analog gear without the maintenance overhead of aging hardware.
Moving forward, the integration of generative modulation (such as Max for Live probability engines) and AI-assisted spectral mixing will likely transform how producers approach classic patches. However, the core principles outlined in this guide—understanding harmonic intervals, shaping transient envelopes, and respecting the physics of space and saturation—will remain timeless.
Whether you are crafting melancholic indie-dance anthems, driving underground techno, or cinematic soundscapes, mastering the architecture of a single sawtooth wave remains one of the most powerful investments a music producer can make. Grab your trial version of Diva, fire up your DAW, and start building your own sonic legacy today.